Step 1: Inspect the Damage (Repair vs Replace)
Before filling holes, determine how deep the damage goes.
You can usually repair if:
- The wood is solid when probed
- The hole is shallow or clean-edged
- No moisture staining or softness is present
You should replace siding or trim if:
- The wood feels soft or spongy
- Holes penetrate deeply or connect internally
- There is visible rot, swelling, or cracking
- Damage has occurred repeatedly in the same board
If you can push a screwdriver into the wood easily, replacement is safer than patching.
Step 2: Choose the Right Repair Method
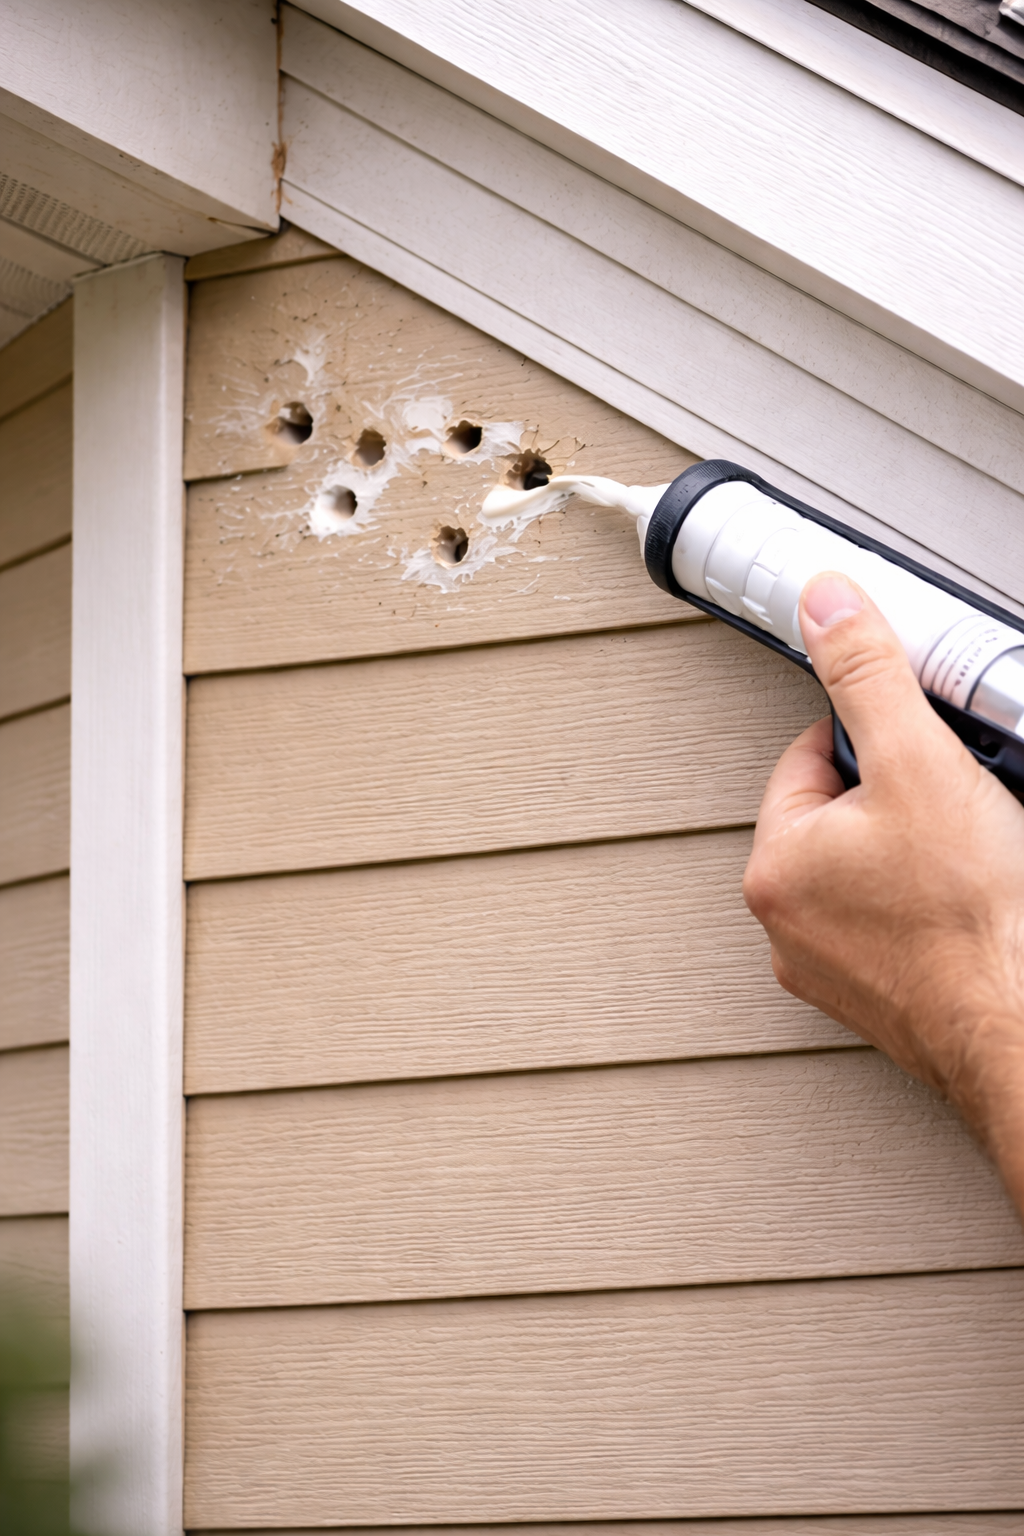
Method 1: Patch Small Holes and Divots
Best for: Shallow pecks, cosmetic damage, minor holes
- Remove loose fibers and debris
- Let the area dry completely
- Fill with two-part epoxy wood filler
- Slightly overfill and sand smooth after curing
- Prime bare wood
- Paint or stain to match
Epoxy fillers outperform standard caulk or lightweight putties in exterior conditions.
Method 2: Plug Clean Round Woodpecker Holes
Best for: Cedar siding and trim with round holes
- Drill the hole clean using a hole saw
- Cut a matching wood plug when possible
- Bond the plug with exterior epoxy or adhesive
- Sand flush once cured
- Prime and paint or stain
This method restores strength and blends better than surface fillers alone.
Method 3: Replace Damaged Boards or Sections
Best for: Large holes, repeated attacks, moisture damage
- Remove the damaged board carefully
- Inspect underlying sheathing or framing
- Repair moisture issues if present
- Install a matching replacement board
- Seal, prime, and finish all exposed surfaces
Step 3: Seal and Finish Correctly
- Prime all exposed wood before painting
- Pay special attention to end grain
- Use paintable exterior caulk only at seams
- Match existing paint or stain to protect repairs
How to Prevent Woodpeckers From Returning
Repairing holes alone often leads to repeat damage, sometimes within days.
Install Bird Netting
- Use 3/4-inch mesh netting
- Maintain at least 3 inches of space from siding
- Cover the entire affected wall section
If netting is installed too narrowly, woodpeckers will simply move to the edge and continue pecking.
Use Physical Barriers Where Needed
- Hardware cloth
- Sheet metal or PVC panels
- Protective flashing on corners and fascia
Visual Deterrents
Reflective tape or streamers may help temporarily but are best used as a supplement, not a primary solution.
When Insects Do Matter
Insect treatment is appropriate only when clear signs are present, such as:
- Carpenter ants
- Carpenter bees
- Termites
If insects are confirmed, address them in addition to repairing damage and excluding birds.